Table of Contents
How to Use NearHub Tail with a Windows-Based NearHub Board
This guide applies to Windows-based NearHub Boards, including the NearHub Board S Pro and Max Series. NearHub Tail allows you to wirelessly cast your computer screen to the NearHub Board without conn…
Table of Contents
Step 1: Unbox the NearHub Tail
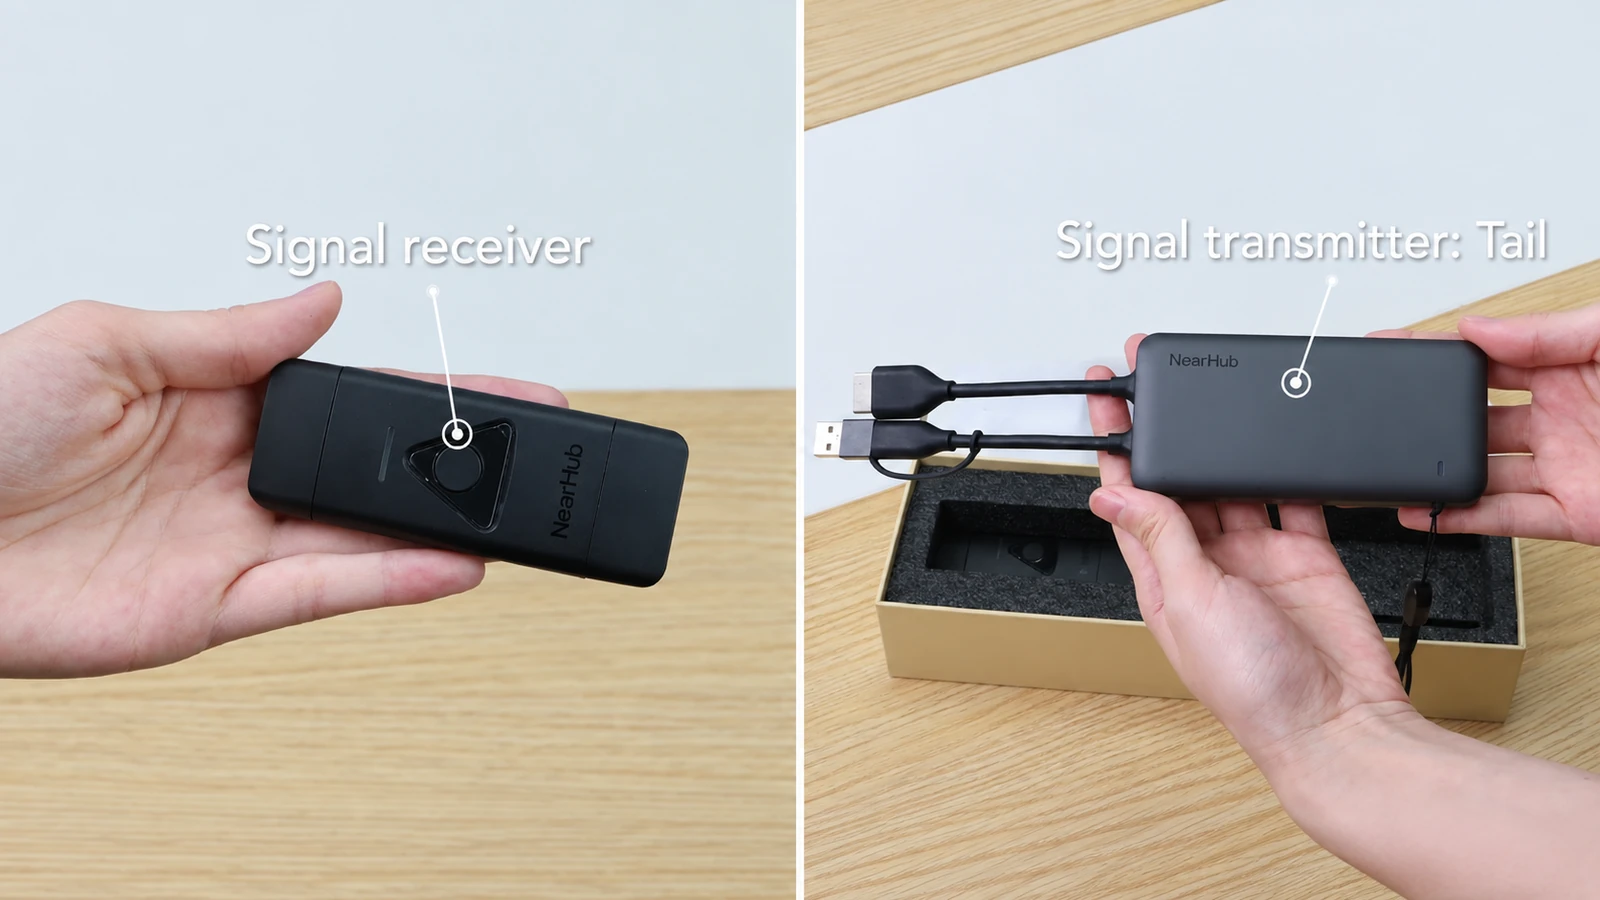
The Windows version of NearHub Tail includes two devices:
- Receiver – connects to the NearHub Board.
- NearHub Tail – connects to your laptop or computer.
Step 2: Connect the Receiver to the NearHub Board
Insert the Receiver into the USB port on the NearHub Board.
Keep the Receiver connected to the board during screen casting.
After it is connected, the indicator light will begin flashing while waiting for the NearHub Tail to connect.
Step 3: Connect the NearHub Tail to Your Computer
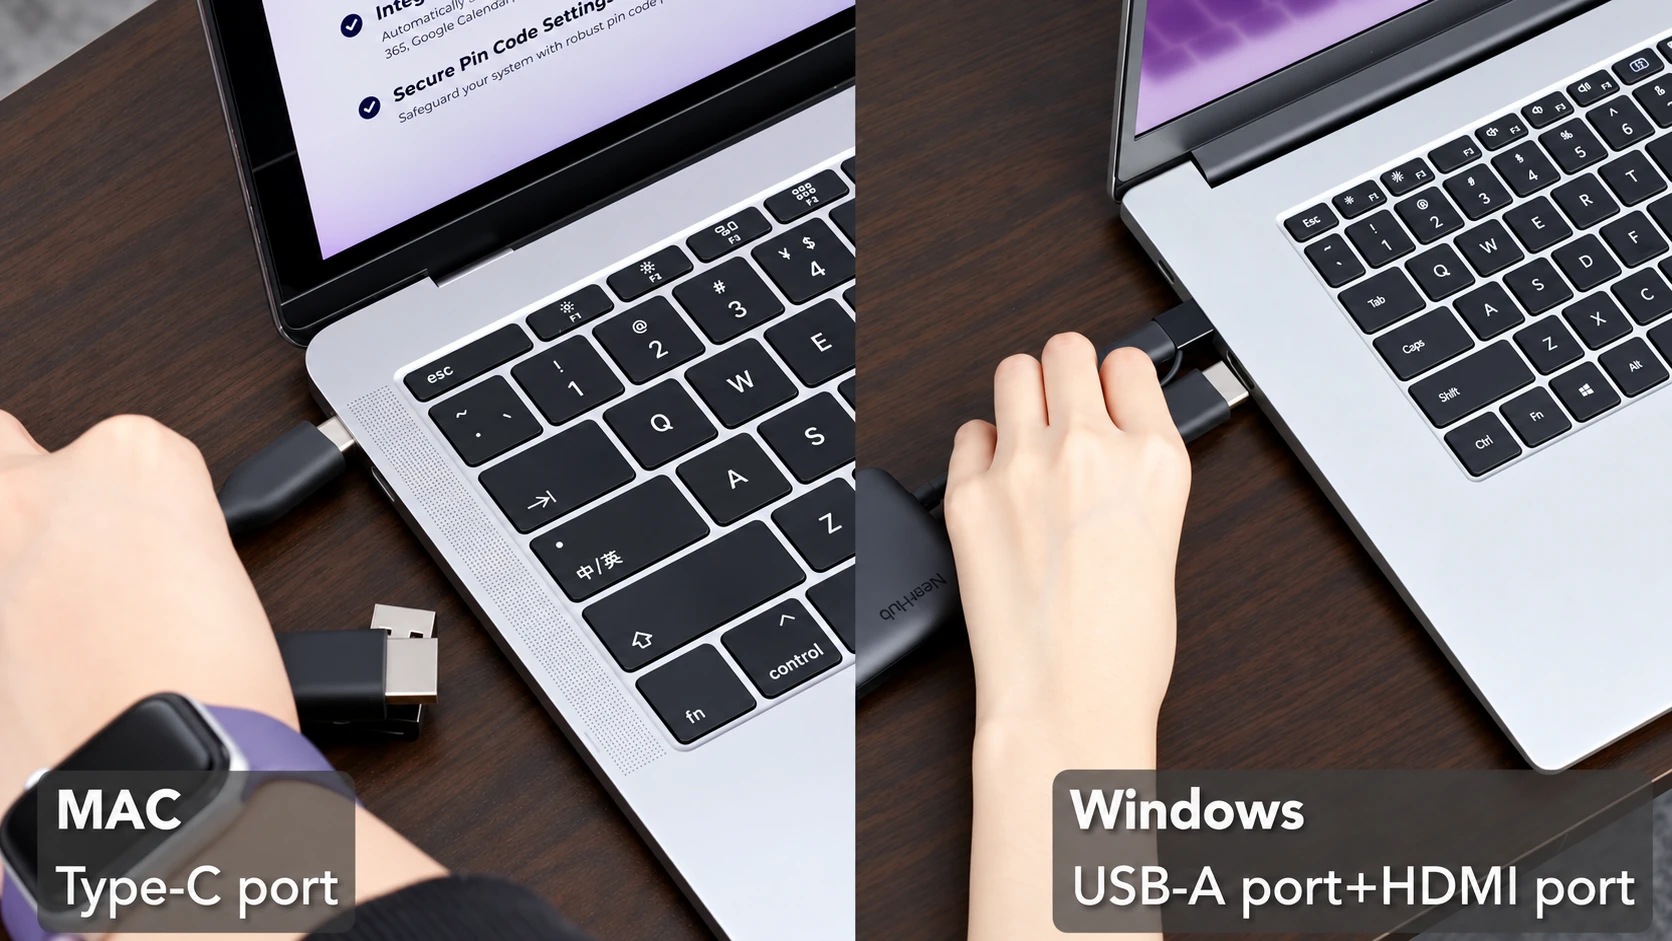
Connect the NearHub Tail to your computer based on your device type.
For Windows computers:
Connect both:
- HDMI to the computer's HDMI port.
- USB-A to the computer's USB-A port.
(If your Windows computer has a full-featured USB-C port that supports video output and data transmission, you can connect the NearHub Tail directly via USB-C instead of using HDMI + USB-A.)
For Mac computers:
Connect the NearHub Tail directly to the Mac using the Type-C port.
Wait a few seconds for the NearHub Tail and the Receiver connected to the NearHub Board to pair.
When the indicator lights on both the Tail and Receiver turn solid blue, the connection is complete.
Step 4: Start Screen Casting
Once the Tail and Receiver are connected successfully, your computer screen will automatically appear on the NearHub Board.
No additional screen casting software or Wi-Fi connection is required.
You can now present content from your computer wirelessly on the NearHub Board.
If You Still Need Help
If the steps above do not resolve the issue, please contact NearHub Support at support@nearhub.us.
How did we do?
How to Use Room Calendar on NearHub Board