Table of Contents
How to Set Up Your NearHub Board (Windows system)
This guide walks you through the initial setup of your NearHub Board running Windows, including unboxing, powering on the device, selecting your language, registering and setting up NearHub Launcher,…
Table of Contents
Step 1: Unbox Your NearHub Board
Carefully open the package and remove the NearHub Board and included accessories.
Check that all components are present and in good condition before installation.
Depending on your model and package, the box include:
- NearHub Board
- Power cable
- Remote control
- Stylus pens
- Installation accessories
Remove all protective packaging from the Board before use.
Step 2: Power On the NearHub Board
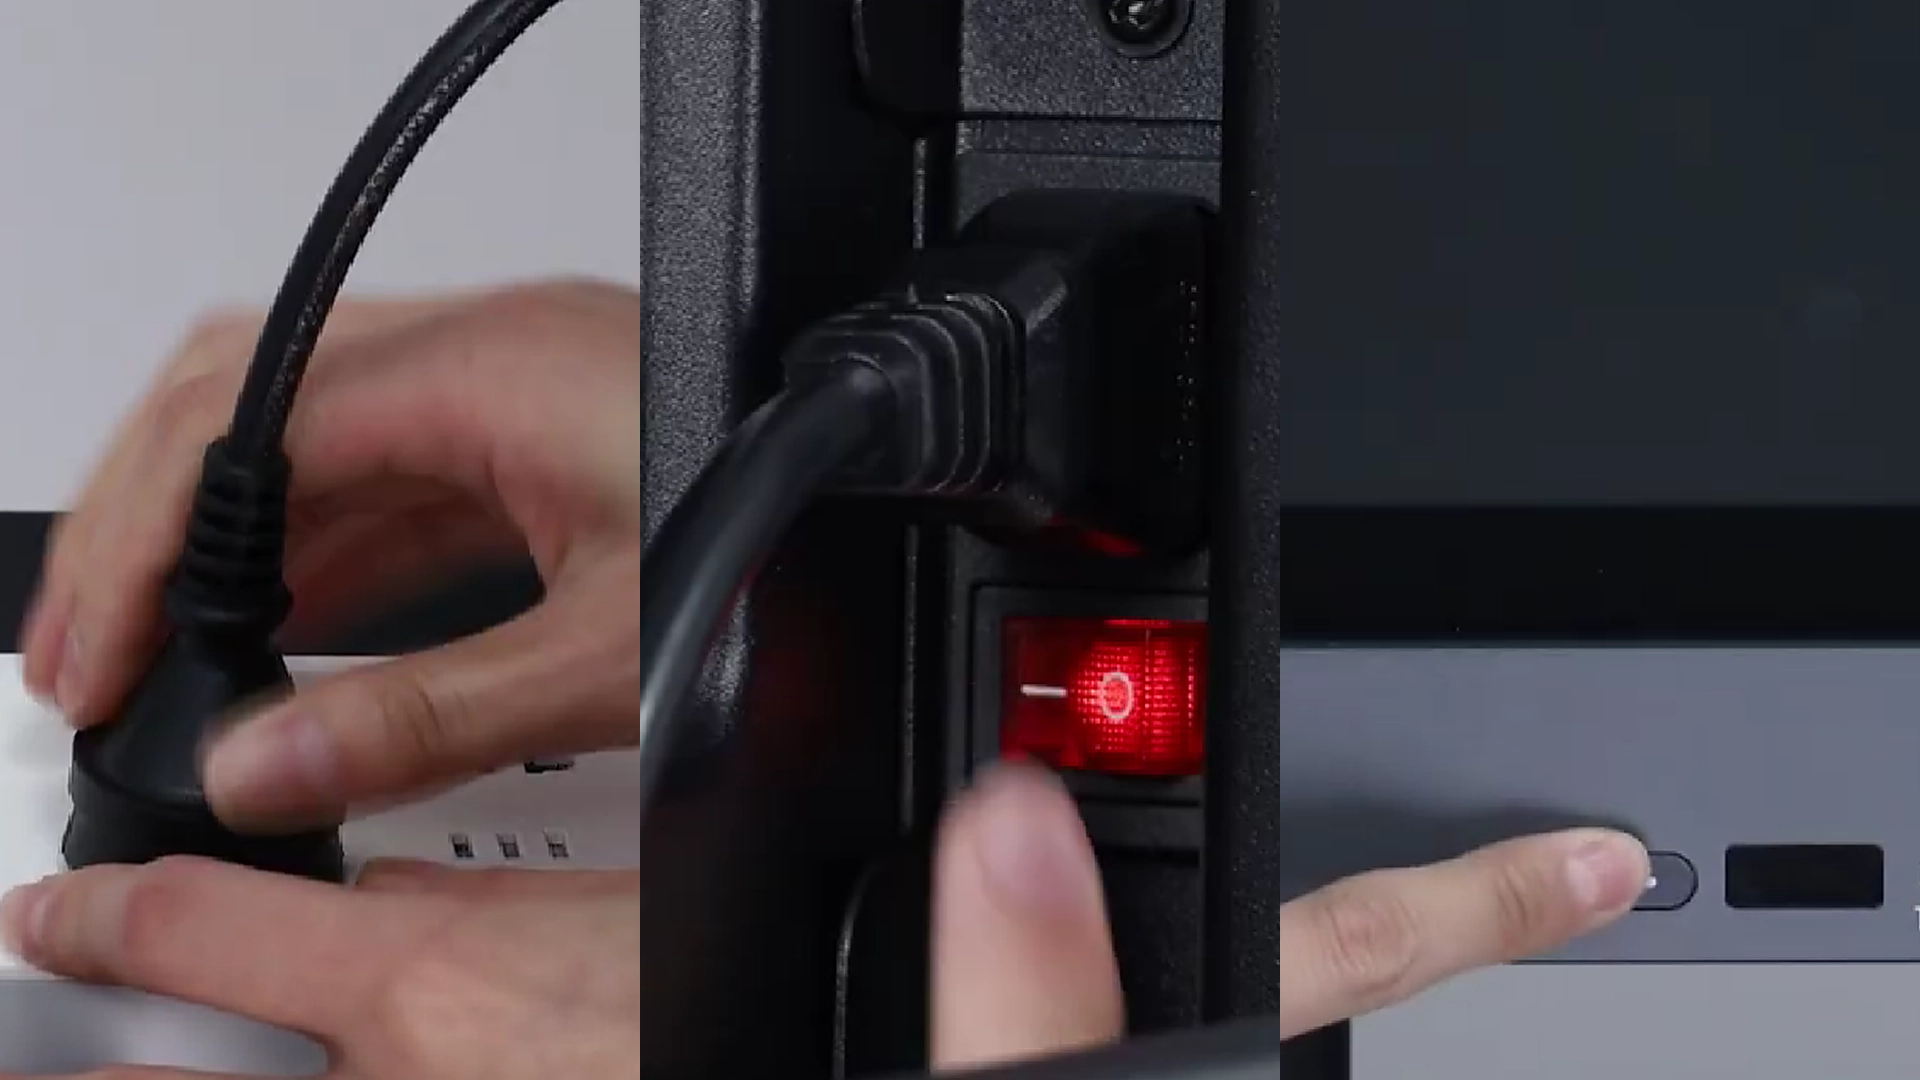
Connect the NearHub Board to a power source.
Press the Power button to turn on the Board.
Wait for the system to start and display the initial setup screen.
Step 3: Select Your Language
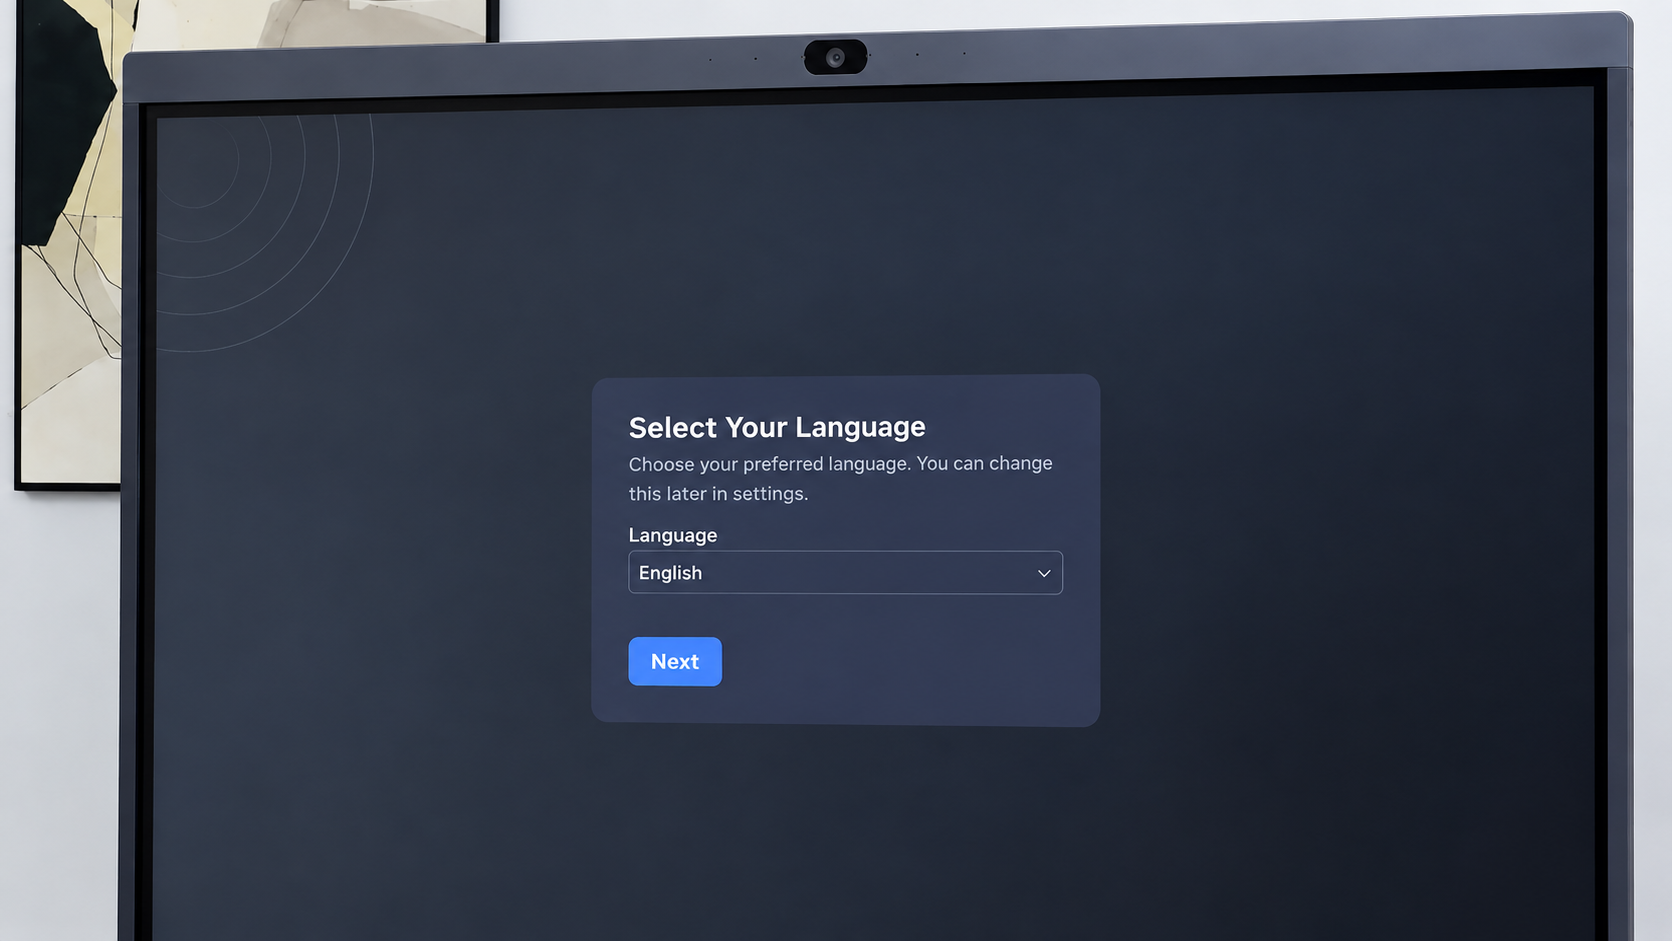
On the initial setup screen, select your preferred system language.
Follow the on-screen instructions to continue.
You may also be asked to configure basic settings such as your region, keyboard layout, and network connection.
Make sure the NearHub Board is connected to the internet before proceeding with the remaining setup.
Step 4: Register and Set Up NearHub Launcher
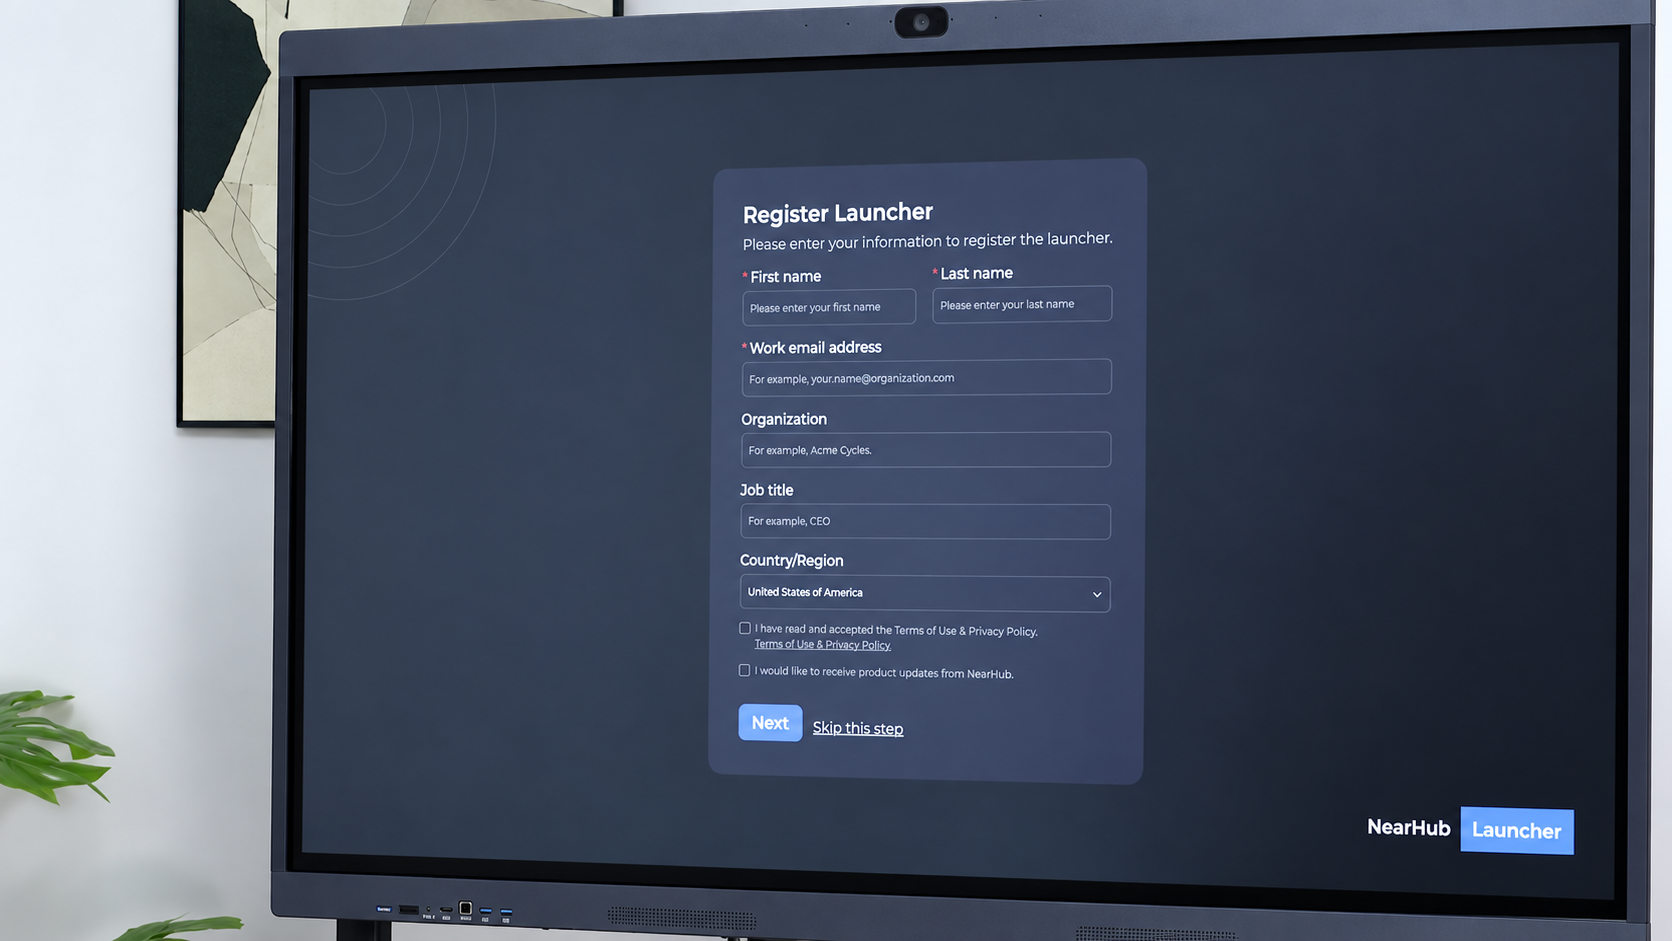
After completing the initial Windows setup, open NearHub Launcher.
On the Register Launcher page, enter the requested information:
- First name
- Last name
- Work email address
- Organization
- Job title
- Country/Region
Review and accept the Terms of Use & Privacy Policy to continue.
You can also choose whether you would like to receive product updates from NearHub.
Once the information is complete, select Next to continue with the Launcher setup.
If you do not want to register at this time, select Skip this step.
Step 5: Set Up Device Details
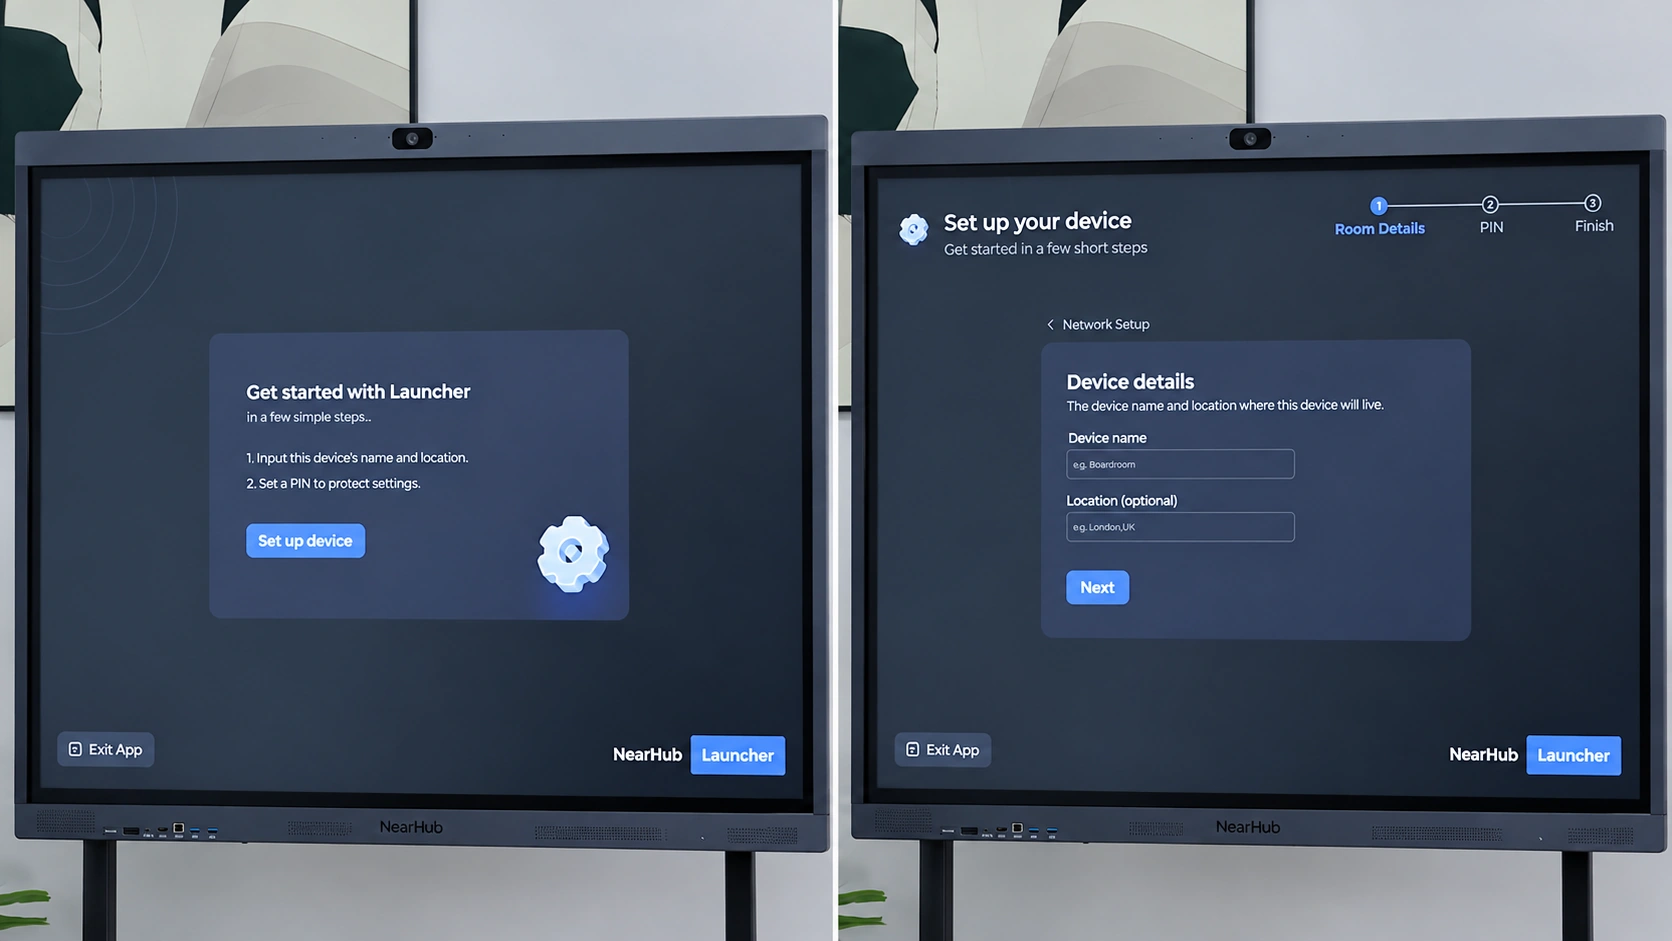
After completing the NearHub Launcher registration, follow the on-screen instructions to configure your device details.
Enter or confirm the required information for your NearHub Board, such as the device name, Location shown on the screen.
Then, set up a PIN to protect the device settings and prevent unauthorized changes.
Once the device details are configured, continue to the next step to complete the setup.
Step 6: Update Your NearHub Board
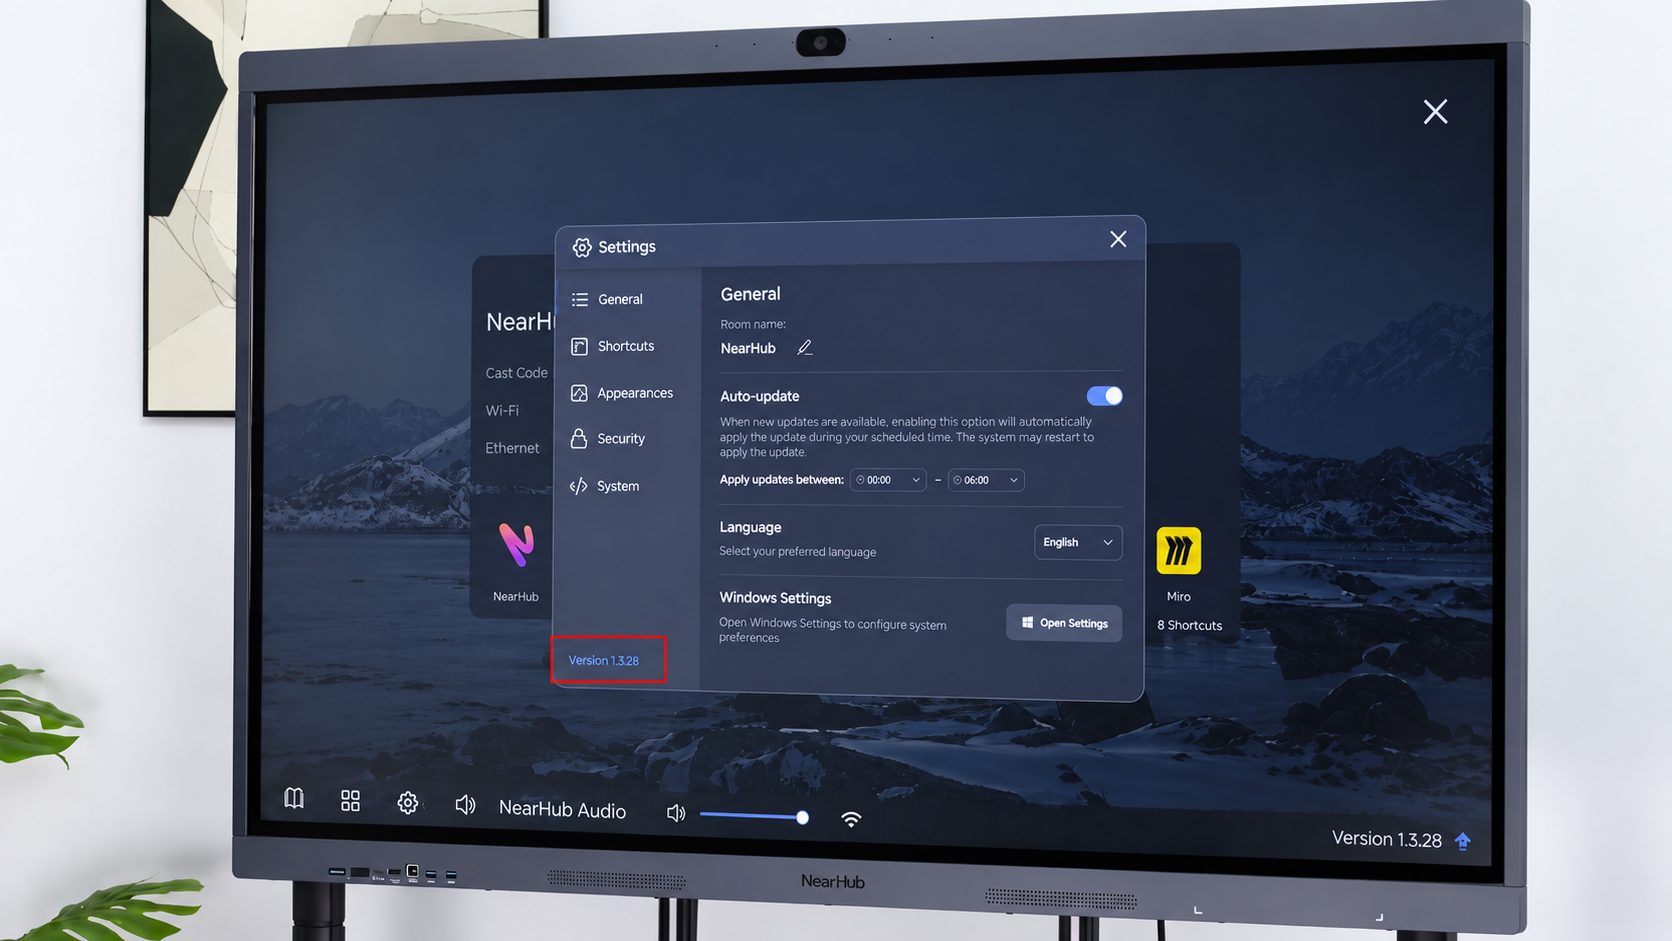
After completing the NearHub Launcher setup, check for available system and software updates.
Keeping your NearHub Board up to date helps ensure the latest features, performance improvements, and system stability.
Follow the on-screen update instructions and install any available updates.
Do not turn off or disconnect the NearHub Board while an update is in progress.
Restart the Board if prompted.
Setup Complete
Once the update is complete, your NearHub Board is ready for use.
You can now configure your preferred meeting applications, collaboration tools, casting options, and other settings based on your meeting room requirements.
If You Still Need Help
If the steps above do not resolve the issue, please contact NearHub Support at support@nearhub.us.
How did we do?