Table of Contents
NearHub MagicPad S13 Quick Start Guide
1. What's in the Box.. 2. Connection. Connect the Micro USB end to the MagicPad S13 and the USB-A end to your computer. Press any shortcut key on the pad. If the indicator light turns on, the connect…
Table of Contents
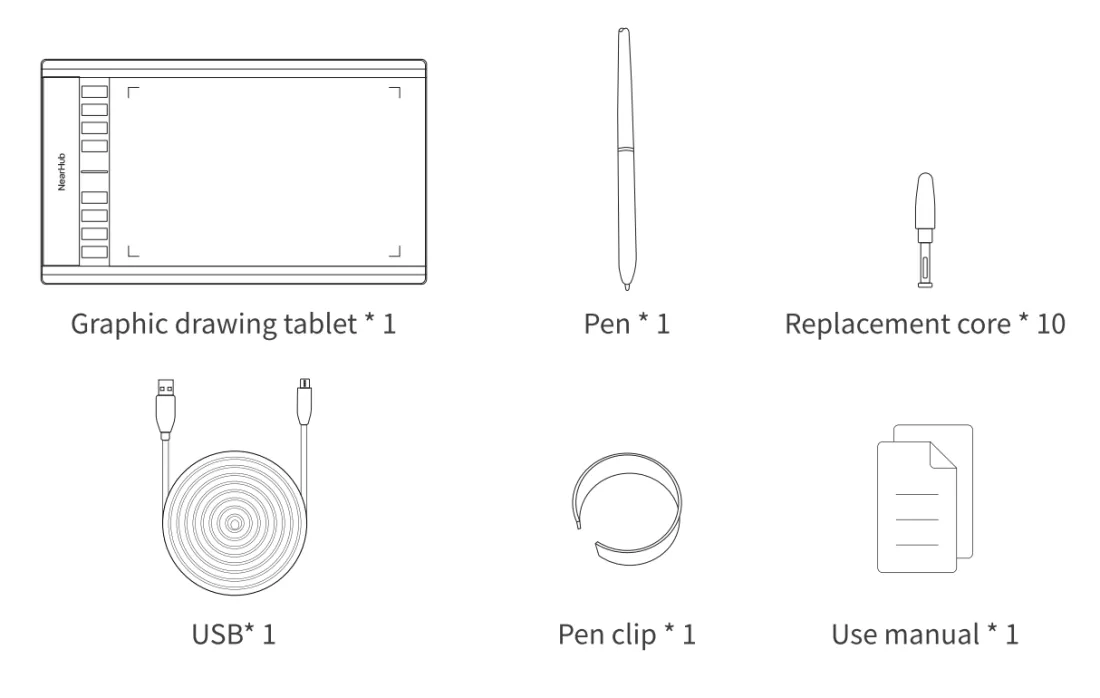
1. What's in the Box
2. Connection
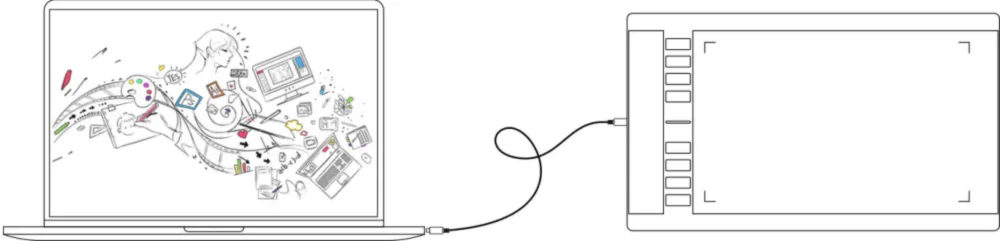
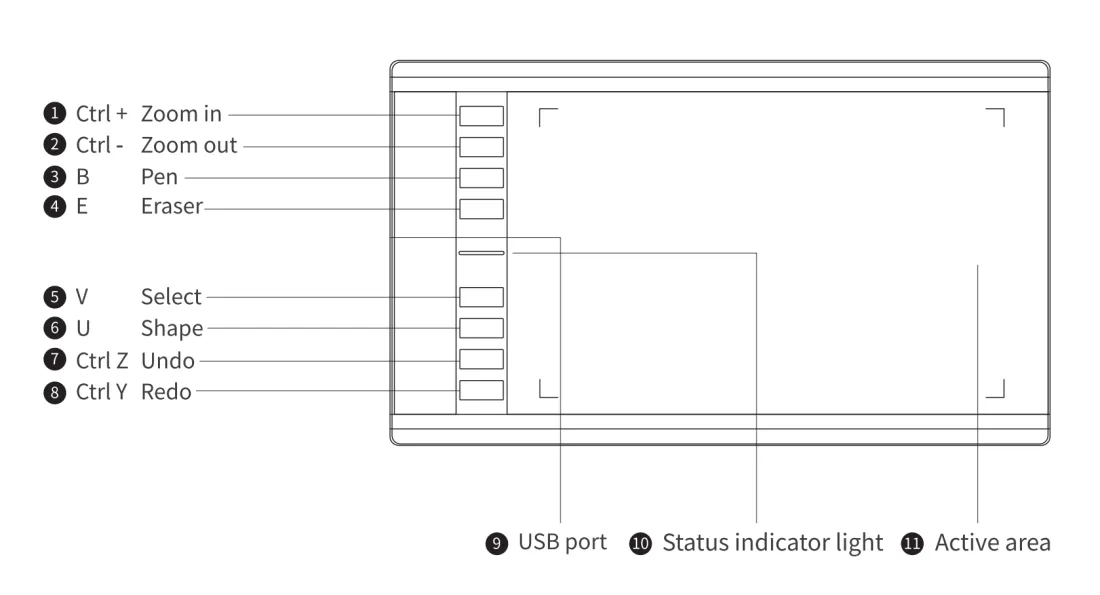
Connect the Micro USB end to the MagicPad S13 and the USB-A end to your computer. Press any shortcut key on the pad. If the indicator light turns on, the connection is successful.
3. System Requirements
OS | Minimum Version |
Windows | 7 / 8 / 10 |
macOS | 10.10 or later |
Android | 6.0 or later (select models) |
Chrome OS | 88 or later (select models) |
4. Plug & Play or Driver Install
Plug & Play
The MagicPad S13 works with NearHub Canvas without any driver installation. Connect the pad to your computer and open app.nearhub.us in a browser. The eight shortcut keys are pre-mapped to NearHub Canvas functions.
Driver Install
To remap the shortcut keys, download the driver for your operating system from the Download Center.
5. Installation
Unzip the downloaded file and run the installer: .exe on Windows, .dmg on Mac. Follow the on-screen prompts to complete installation.
Before installing:
- Temporarily disable antivirus software and close all open applications.
- If another pen tablet driver is already installed, uninstall it first.
- Restart your computer after installation completes.
6. Driver Settings
After installation, connect the MagicPad S13 and open the driver to configure your device.
Note: This guide describes all available driver options. Some options may not be available depending on the connected device.
Saving your configuration: After making any changes, click OK in the driver interface to save. A "Configuration saved successfully" message will confirm the save. Changes that are not saved will only apply to the current session.
Working Area
Screen
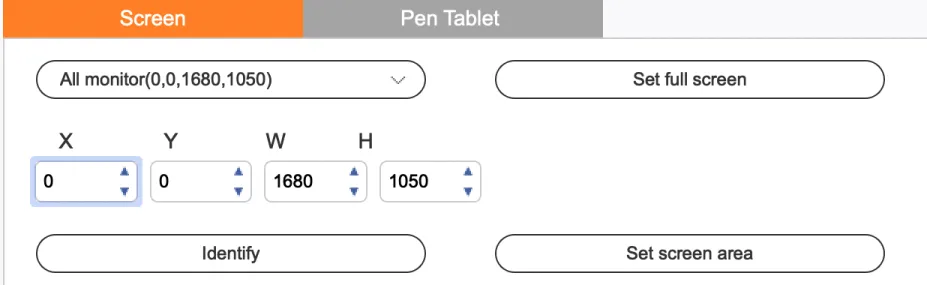
Multiple monitors — mirror mode: The pad's working area maps to all monitors simultaneously.
Multiple monitors — extended mode: Select which monitor the pad maps to in the driver interface.
Three options are available for setting the screen display area:
Option | Description |
Full Screen | Maps the pad to the entire selected monitor |
Set Screen Area | Click the top-left corner, then the bottom-right corner of the desired area |
Customize | Enter X, Y, W, H coordinates manually, or drag the screen icon in the driver interface |
Show Display Number: Displays a numeric label on each connected monitor to help identify them.
Pen Tablet
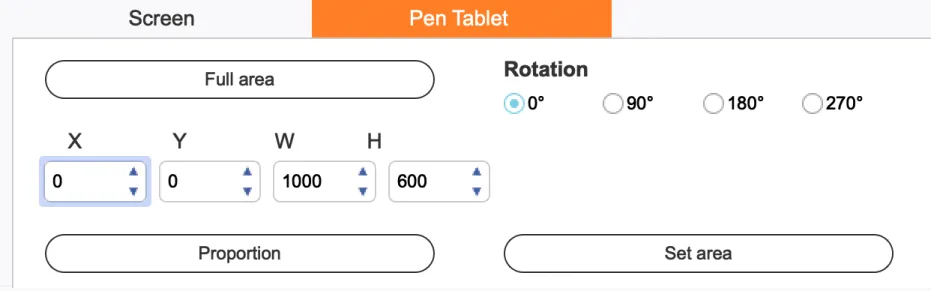
Four options are available for setting the pad's active area:
Option | Description |
Full Tablet Area | Uses the entire surface of the pad |
Tablet Proportion | Scales the pad area to match your screen's aspect ratio |
Set Tablet Area | Tap the upper-left and lower-right corners on the pad to define the area |
Customize | Enter X, Y, W, H coordinates manually, or drag the tablet icon in the driver interface |
Rotation: Set the pad orientation to 0°, 90°, 180°, or 270°. Rotate the physical pad to match the selected angle.
Left-handed mode: Set rotation to 180°.
Application-Specific Settings

You can assign custom shortcut key functions for specific applications:
- Click + in the top-right corner of the application list.
- Select a running program, or click Browse to locate an installed application. The selected app's file path will appear at the bottom.
- Click OK to add it to the list.
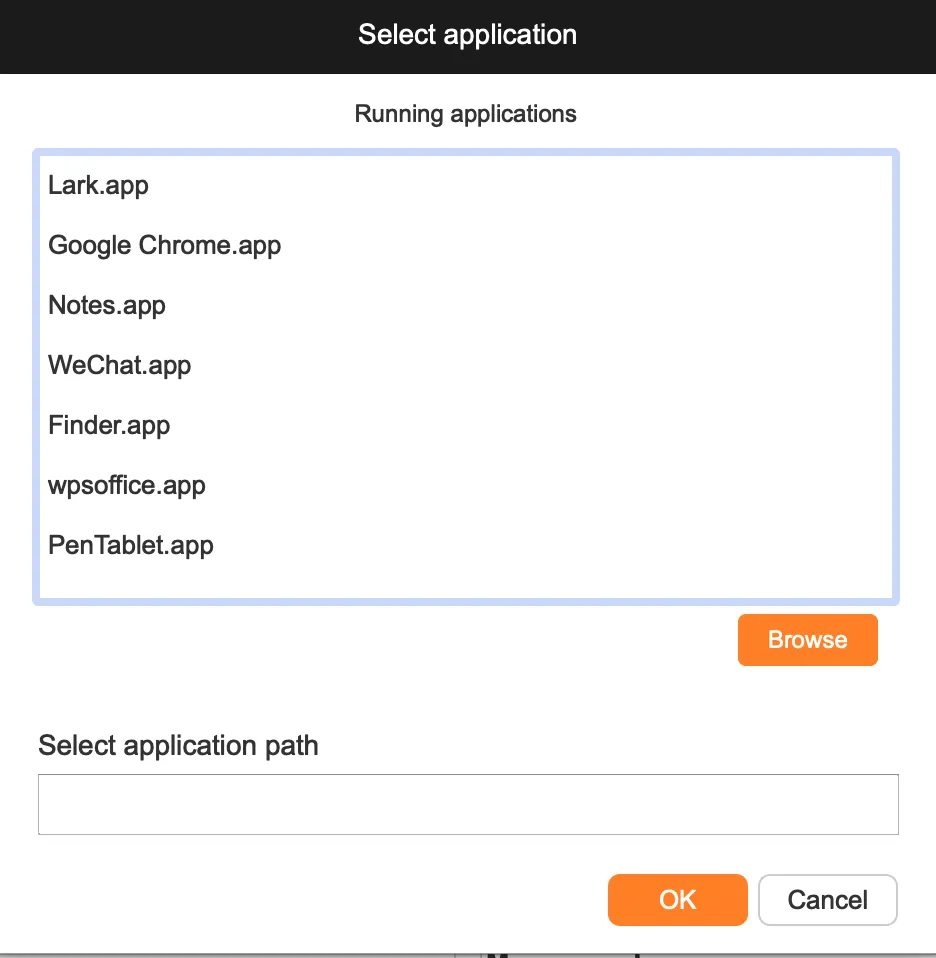
Once added, configure the shortcut key functions for that application independently.
Pen Settings
Pressure Adjustment
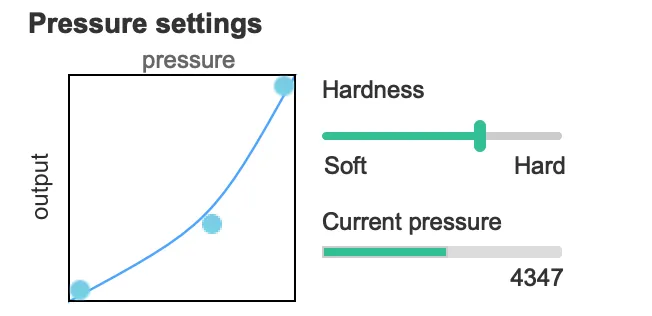
Adjust pen pressure sensitivity by moving the slider or modifying the output/pressure curve. Use Current Pressure to test your pen pressure in real time.
Input Mode
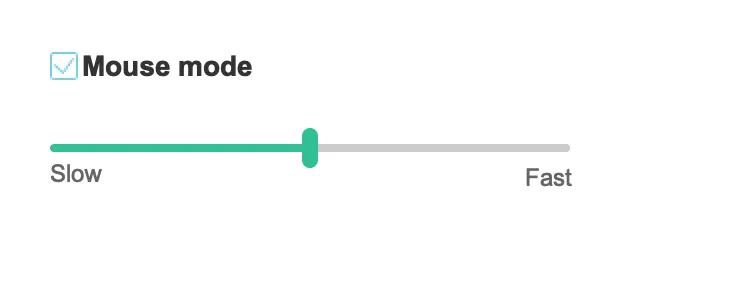
Mode | Behavior |
Absolute (Pen Mode) | Default. The pad surface maps directly to the screen area. Standard for drawing. |
Relative (Mouse Mode) | The pen behaves like a mouse — movement is relative to the previous cursor position. Cursor speed is adjustable. |
Shortcut Keys
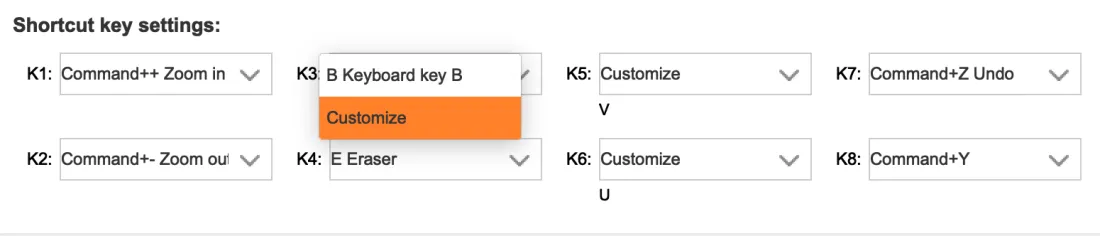
Note: Shortcut keys only function correctly when your system input method is set to English.
Shortcut keys are pre-mapped to Photoshop commands by default. You can remap each key to any function you need.
Mouse Controls
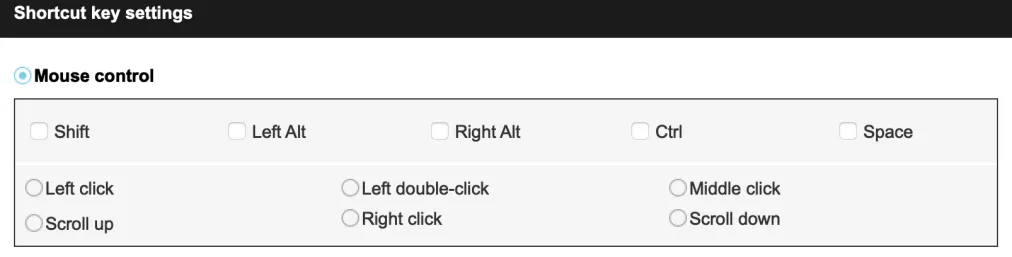
Assign mouse button actions or keyboard modifier combinations (e.g. Shift + Left Click) to a shortcut key.
Keyboard Shortcuts

Assign any keyboard shortcut to a key (e.g. Alt+A for the alignment tool in 3D MAX).
Multiple Key Sets
You can create and switch between multiple shortcut key configurations.
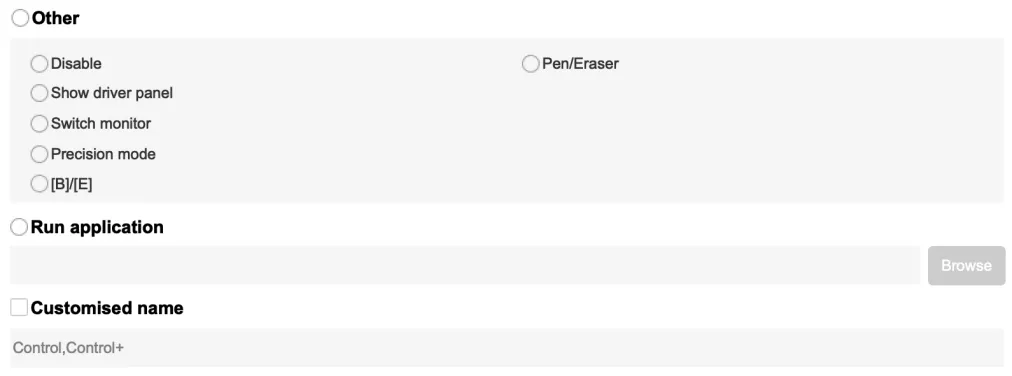
Settings
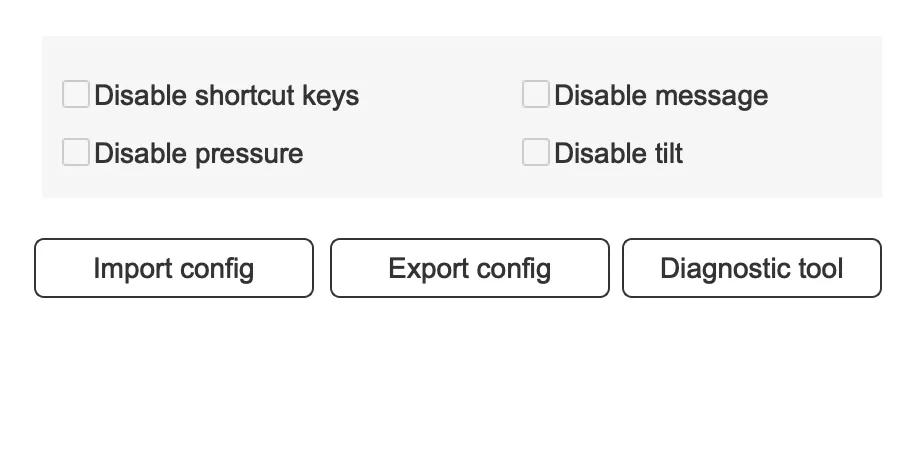
Option | Description |
Disable Shortcut Keys | Deactivates all shortcut key functions |
Disable Messages | Suppresses on-screen prompts when shortcut keys are used |
Disable Pressure | Disables pen pressure sensitivity |
Disable Tilt | Disables tilt detection |
Diagnostic Tool | Use this if you encounter issues with the driver |
Import & Export Config | Save or load your shortcut key and settings configuration |
Note: Before importing or exporting, click OK to save your current configuration first.
How did we do?
NearHub Board Portable Stand Quick Guide